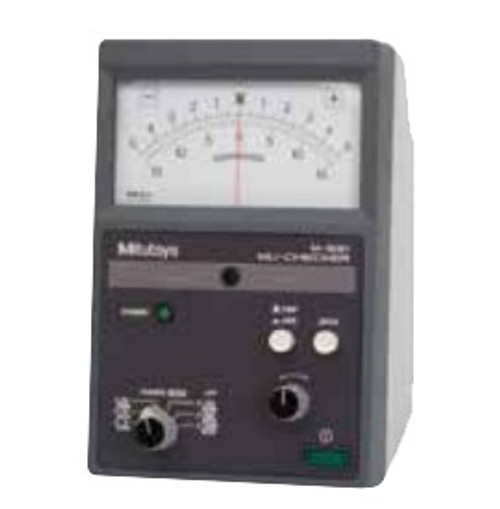
Mitutoyo 519-552A Offers
This instrument uses a differential inductance displacement sensor energized by a 5kHz AC exciting voltage applied across two identical series-connected coils, L1 and L2. An iron core connected to the stylus moves close to both cores and varies the impedance of each coil depending on its position, and the voltage at the junction between the coils varies as the impedance difference.
Two resistors, R1 and R2, form a bridge circuit with the coils and the bridge output voltage drives electronic amplification and conditioning circuits to provide a voltage signal proportional to displacement of the stylus.
Features
- Analog display
- Calculation mode ±A
- Can connect 1 probe to the unit at a time
- Weighs only 1.7kg (3.74lbs)
Applications
With the appropriate Cartridge Head, the Mu-Checker can be used in a multitude of applications.
- With the 519-522 you can measure:
- Runout of the distortion of a core
- The warp on an LCD panel, without scratching the workpiece
- With the 519-385 you can measure the straightness of a component like sheet metal
Mitutoyo 519-552A Specifications
| Measuring Range | ±1500, 500, 150, 50, 15, 5µm |
| Minimum reading | 50, 10, 5, 1, 0.5, 0.1µm |
| Measuring range | ±0.05", ±0.015", ±0.005", ±0.0015", ±0.0005", ±0.00015" |
| Minimum reading | 0.001", 0.0005", 0.0001, 0.000050", 0.000010", 0.000005" |
| Indication Accuracy | ±1%/± full scale |
| Analog Output Accuracy | ±0.1%± within full scale (excluding the probe) |
| Analog Output | ±1V/± full scale |
| Meter Indication Response | Approx. 0.3s |
| Zero-Setting Enabled Zone | 1/3 scale or less (CMP mode) |
| Zero Point Thermal Coefficient | 100ppm/°C or less |
| Sensitivity Thermal Coefficient | 100ppm/°C or less |
| Power Consumption | 5VA or less |
| Operating Temperature Range | 0 to 40°C |
| Storage Temperature Range | -10 to 50°C |
| Power Supply | 120V AC |
| External Dimensions | 134(W) x 210 (H) x 183mm (D) |
What's included with the Mitutoyo 519-552A
- Mitutoyo 519-552A Mu-Checker Electronic Micrometer with Analog Display, Standard


